Central to the Snap Shooter Challenge is the ShooterID system, ShooterID is used to track the performance of competitors across the season and all shooters competing in the league will be required to scan the same ShooterID into the Commander app hosting every match.
For data to be collected from all sites, each site hosting a match will be required to have enrolled in the ShooterID Cloud service. This connects each site to the central ShooterID servers hosted by AttackSense and the league is then coordinated centrally.
*Note* Your site may use ShooterID cards or the app for shooters to scan in, but this does not necessarily mean your system is connected to ShooterID Cloud! Keep reading to learn how to check if your site is connected to ShooterID Cloud. To host a match, you will need to register your intent to host the match on the ShooterID portal, if you don’t have a login to the portal or don’t know what it is, this is probably the best sign your site is not enrolled!
Checking if you are already enrolled To check a Lane Commander is configured with a RangeID, from the home screen press the menu icon and look at the bottom of the left hand menu. If you have a cloud icon at the bottom right of the menu then the tablet is enrolled, if you don’t see an icon then you aren’t enrolled. You can also visit the App Setting page and under RangeID you should see the same of the range the tablet is registered to, if you don’t see a RangeID then you aren’t enrolled.
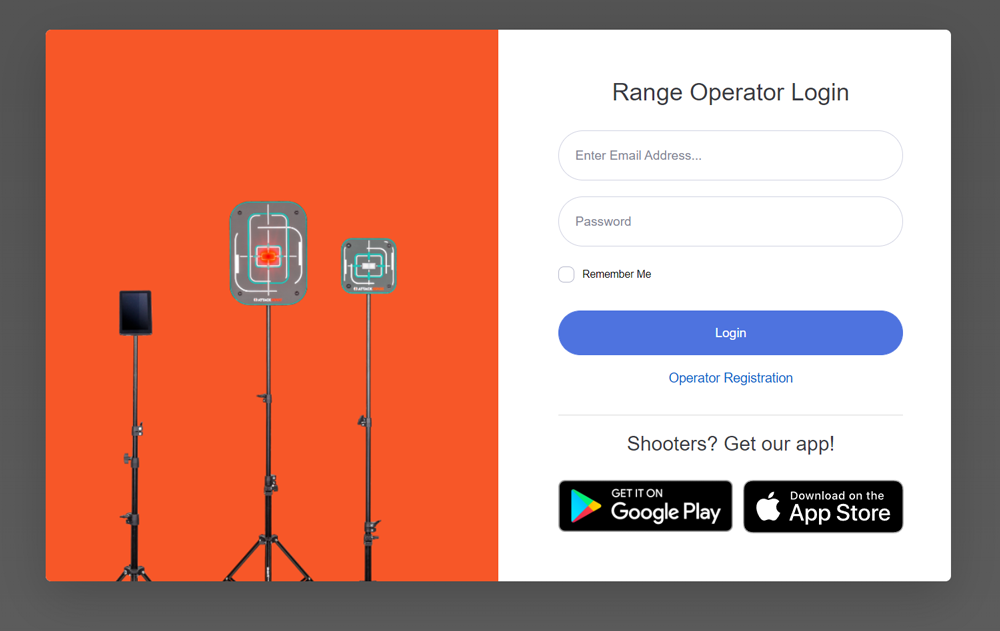
Enrolment in ShooterID Cloud is free and easy. To enrol visit https://shooterid.attacksense.com and select the Operator Registration link.
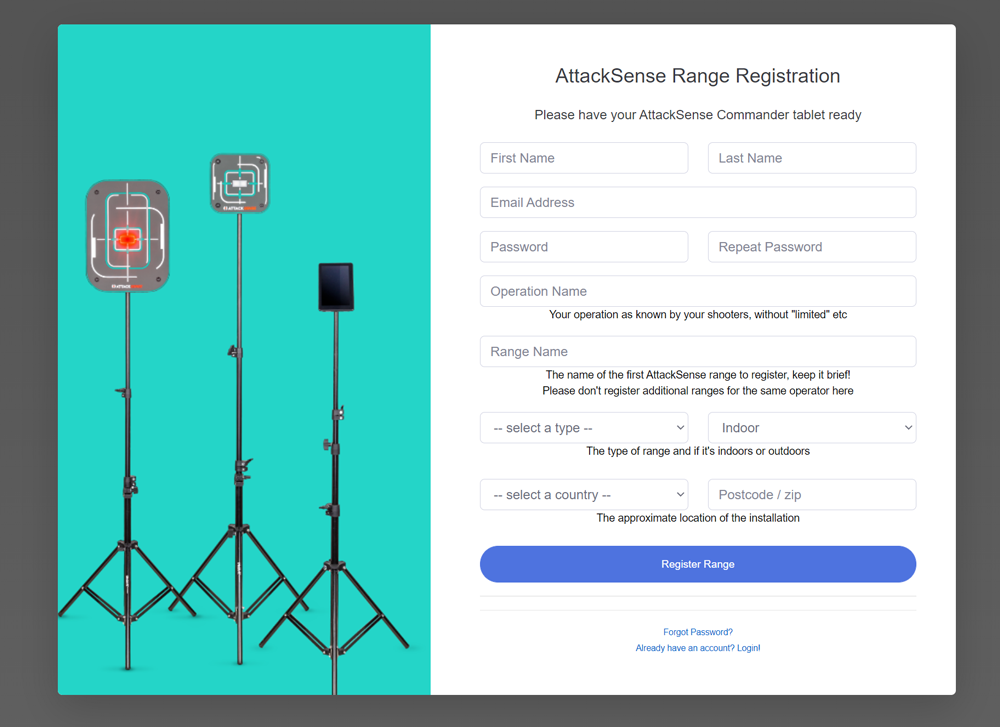
Fill in your information in the enrolment form:
Note that your email address will become the login for the portal. Your operation name and range name will be combined in information viewed by customers, so you do not need to repeat your name in the range name. It is also important to include the correct country name and location information as well as the type of range ( which must be Airsoft for the Snap Shooter Challenge ). You can also include contact details for customers to contact you from the
AttackSense Site Locator page. Once you have filled in the form, press the Register Range button.
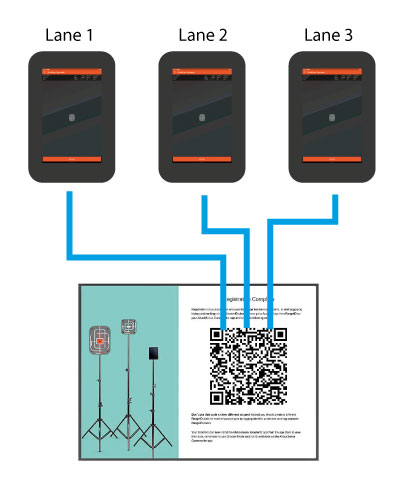
Please note that if you have multiple tablets for lanes, you need to register all of them to the same QR code you just created.
If you have multiple sites with AttackSense targets, these should be fully registered separately, starting from step 1.
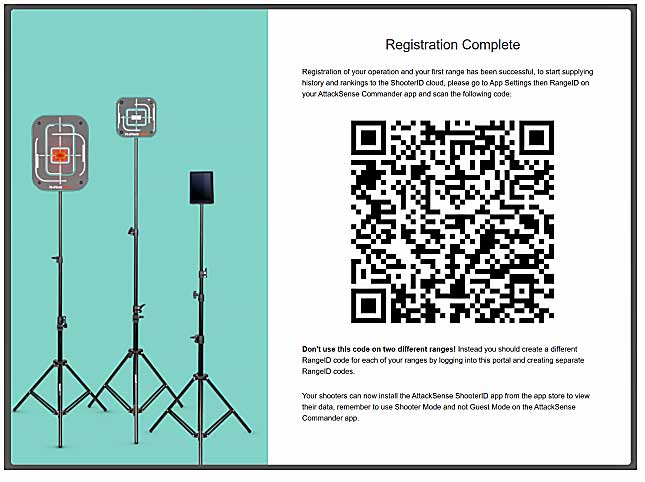
Once enrolled, the portal will provide you with a RangeID QR code. On your AttackSense Commander tablet you must scan the code in the App Settings menu by pressing “scan RangeID” and scanning the QR code using the tablet’s camera. When done, quit the app and re-open it, you should then see a cloud icon at the bottom of the menu on the right. If you do not see a cloud icon, you do not have a RangeID and no data will be uploaded. Note the cloud icon may have a cross through it, this is fine so long as you see a cloud icon. *note* Only shoots performed after registering a RangeID with the tablet are uploaded to the cloud, any shoots performed before scanning a RangeID code will not be uploaded.
If you do not see a cloud icon, you do not have a RangeID and no data will be uploaded. Note the cloud icon may have a cross through it, this is fine so long as you see a cloud icon. *note* Only shoots performed after registering a RangeID with the tablet are uploaded to the cloud, any shoots performed before scanning a RangeID code will not be uploaded.
Uploading data to ShooterID Cloud Each round shot sends data to the cloud, and after every round in a match the match is refreshed to the cloud also. If your AttackSense range is connected to the Internet directly, this happens immediately after a round is shot. If your AttackSense system is not directly connected to the Internet, the data is stored locally and will be uploaded the next time the AttackSense Commander tablet is connected to an active Internet connection.
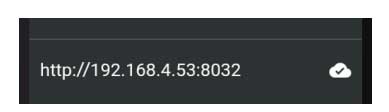
To check the status of uploads, the main menu has a cloud icon to show the status of a connection. A cloud with a tick on it shows that the system is cloud enabled and there are no pending uploads. A cloud with a cross through it means there is no active connection to the cloud service ( probably because the tablet can’t see the
Internet ) and a cloud with a cross through it and a number beside it shows the number of records waiting to be uploaded.
Cloud enabled & no pending transactions
Cloud enabled but not connected
Cloud enabled, not connected and pending transactions
Connecting AttackSense systems to the Internet The easiest way to ensure data is synchronised to the cloud is to connect the AttackSense system to the Internet. If your site has an active Internet connection with a router this is quite easy.
To connect the AttackSense system to your Internet connection, you need: ● An AttackSense WiFi Expander ( black box with four RJ/45 network ports on the side, or white box with two RJ/45 network ports underneath ). ● An existing Internet connection with spare RJ/45 network port. ● A Cat5 or Cat6 LAN cable.
The required Cat5 network cable can be purchased from a computer shop or through Amazon and are available in many lengths, just measure how long the cable needs to be to reach your router from the AttackSense WiFi expander and purchase a long enough cable. Once you have the cable, plug one end into a spare LAN port on your Router, then plug the other end into the W or Wan port on the AttackSense WiFi Expander. If your WiFI Expander ports are not labelled, this is the port nearest the power socket. Once you have connected the WiFI Expander to your Internet connection, restart the AttackSense Commander app and check the status of the cloud connection by ensuring the Cloud Icon in the menu bar has a tick through it. Depending on how many transactions are waiting, this could take several minutes.
Uploading data without an active Internet connection If your site does not have an active Internet connection, you can still use cloud services. Data is held locally until the AttackSense Commander tablet sees an Internet connection where it is automatically uploaded. During activity without an Internet connection, you should notice the cloud icon has a cross through it and a number will increase next to it, this is the number of transactions waiting to be uploaded.
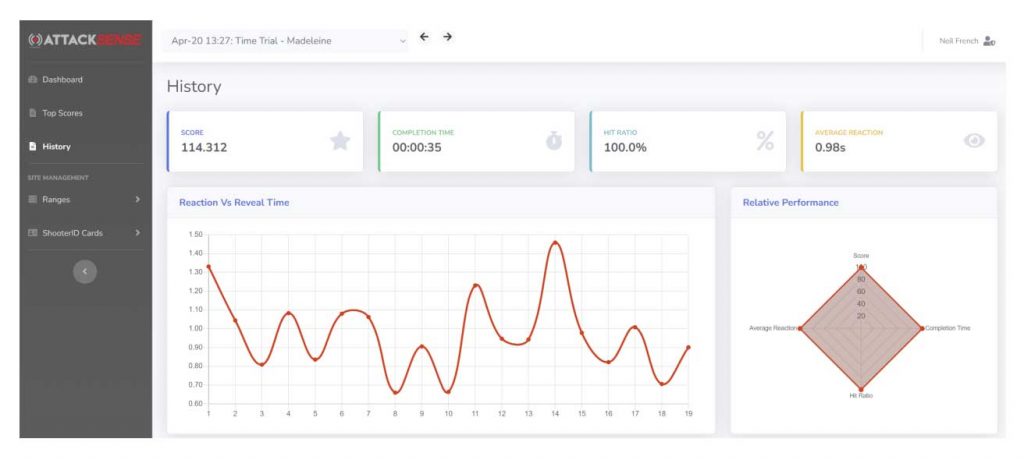
Checking data in the cloud To check whether data has been uploaded correctly, you can log into the ShooterID portal at https://shooterid.attacksense.com . Once logged in, you can check uploads by clicking “History” on the left hand menu. In there you will see recent shoots, with the most recent shoot displayed first. Check the date of the shoot to ensure that it is as recent as you expect.